Introduction
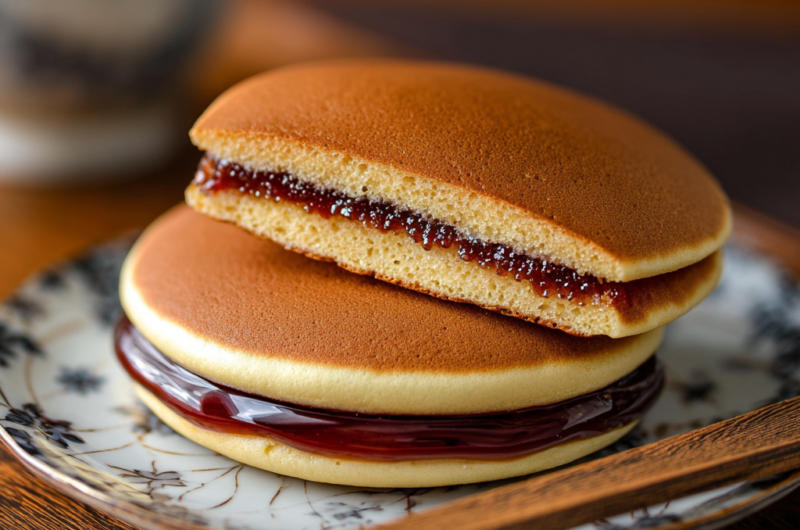
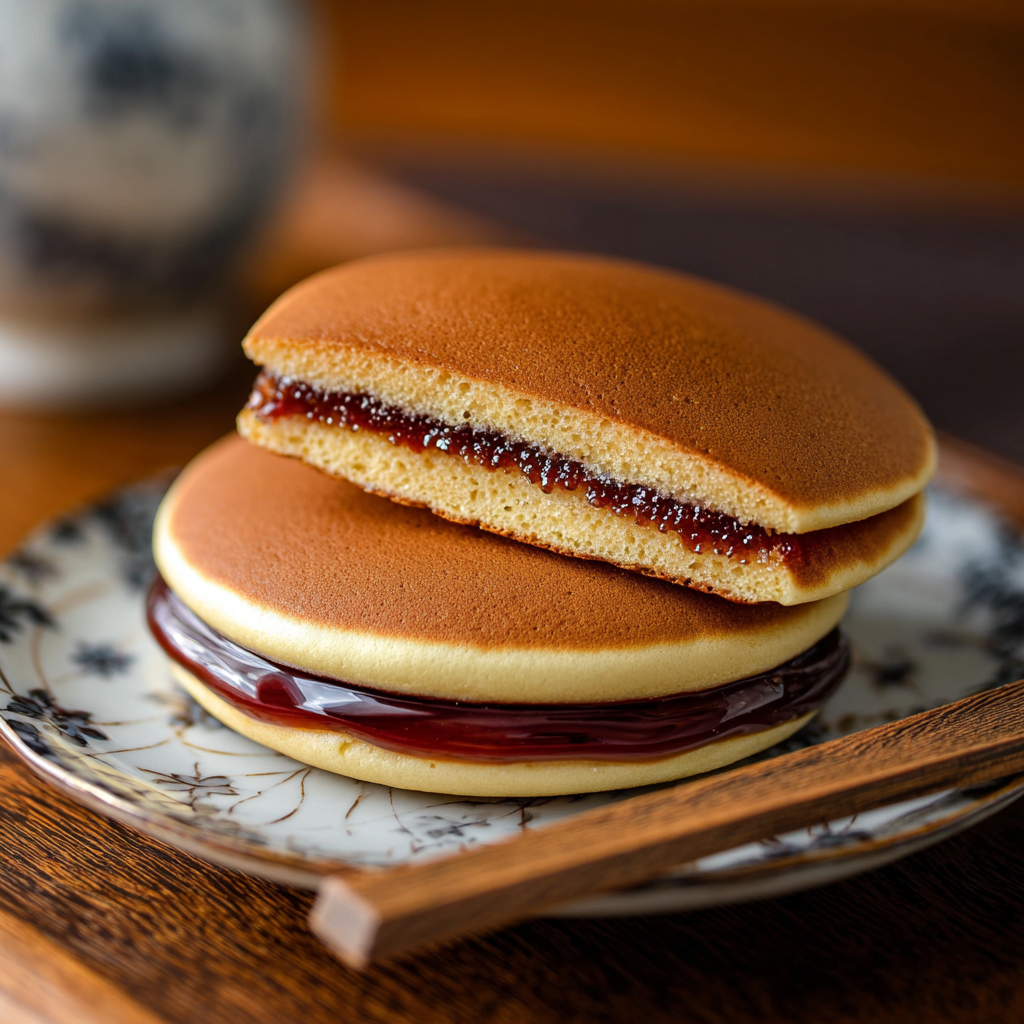
Dorayaki is a beloved treat in Japan, consisting of two fluffy, pancake-like cakes filled with sweet red bean paste. The combination of soft, warm cakes and the rich, slightly sweet filling creates a delightful snack that pleases both young and old alike.
Traditionally enjoyed during tea time or as a portable snack, dorayaki's versatility also invites creativity, allowing for different fillings, from custards to fruits. Making dorayaki at home can not only satisfy your sweet tooth but also introduces you to a joyful aspect of Japanese culture.
Ingredients
- 1 cup all-purpose flour
This is the main ingredient that provides structure to the dorayaki. A fine flour will give you a soft texture, essential for the pancake-like cakes. The gluten in the flour also helps the cakes rise. - 1/2 cup granulated sugar
Sugar adds sweetness to the dorayaki and helps create that beautiful golden-brown color during cooking. It also contributes to the moisture and softness of the cakes. - 2 large eggs
Eggs are a key binding agent that not only hold the batter together but also provide moisture and richness, contributing to the overall flavor and texture. - 1/4 teaspoon baking powder
Acting as a leavening agent, baking powder helps the cakes rise and become fluffy. It's essential for achieving that light and airy texture. - 1/2 cup water
Water adjusts the batter's consistency, allowing it to be poured easily on the skillet. It helps to achieve the perfect delicate pancake texture, ensuring the cakes are moist. - 1 cup sweet red bean paste (anko)
This traditional filling is what makes dorayaki special. Anko is slightly sweet and provides a contrasting texture to the soft cakes, making each bite delicious. - A pinch of salt
Salt enhances the overall flavor of the dorayaki, balancing the sweetness and elevating the taste of the other ingredients.
Directions & Preparation
Step 1: Make the batter by mixing the dry ingredients.
In a mixing bowl, sift together the all-purpose flour, sugar, baking powder, and salt. This step is crucial as it evenly distributes the dry ingredients, breaking up any lumps to create a smooth batter. Proper mixing also incorporates air, leading to light and fluffy cakes.
Step 2: In a separate bowl, whisk the eggs and water together.
Whisking the eggs and water separately allows for better integration into the dry ingredients later. This ensures that the mixture becomes homogenous, resulting in a smooth, pourable batter free of lumps, critical for achieving the desired texture.
Step 3: Combine the wet and dry ingredients, stirring gently.
Carefully fold the wet ingredients into the dry. Overmixing can develop gluten, leading to tougher cakes instead of the soft, delicate texture dorayaki is known for. Mix just until combined, leaving small lumps in the batter.
Step 4: Let the batter rest for 15-30 minutes.
Allowing the batter to rest hydrates the flour and helps relax the gluten, making your dorayaki lighter and fluffier. This resting period improves the overall texture and allows the flavors to meld beautifully.
Step 5: Preheat the skillet over medium heat.
Getting the skillet hot enough is vital for a nice sear on the dorayaki while keeping the inside moist and tender. Use a small amount of oil or butter in your skillet to prevent sticking and achieve a rich flavor on the outside.
Step 6: Pour batter onto the skillet to form pancakes.
Using a ladle, pour a small amount of batter onto the skillet. The key is to monitor the heat closely; you’re aiming for pancakes that puff slightly and turn golden around the edges. This technique helps create that classic dorayaki shape.
Step 7: Cook until bubbles form, then flip.
When you see bubbles on the surface of the pancakes, it’s an indication that they are ready to be flipped. This ensures that they are cooked through while still maintaining a fluffy interior.
Step 8: Repeat with remaining batter, ensuring even-sized cakes.
Consistency is important for a pleasing presentation and for maintaining the right ratio of cake-to-filling. It’s best to maintain equal sizes so that when stacked with filling, they align perfectly.
Step 9: Fill the cakes with red bean paste once cooled.
Once your mini pancakes are cool to the touch, place a tablespoon of sweet red bean paste on one pancake and top with another. This approach allows the flavors to meld as the heat from the cakes slightly warms the filling, enhancing the overall taste.

Perfecting the Pancake Texture
The texture of dorayaki is pivotal to its appeal. To achieve the perfect fluffiness, avoid overmixing your batter, which can lead to tough cakes. Letting the batter rest is equally crucial, as it allows the flour to fully absorb moisture, contribing to a soft and tender pancake. Always monitor your cooking heat and flip at the right moment for those signature puffy edges.
Variations on the Traditional Filling
While the classic sweet red bean paste is a staple, dorayaki is open to experimentation with various fillings. Consider using matcha-flavored cream, chocolate ganache, or even seasonal fruits like strawberries or mangoes. Each filling adds a unique flavor profile, making dorayaki a versatile treat suited for different palates and occasions.
Serving Suggestions for Dorayaki
Dorayaki can be enjoyed at any time of day. Serve them warm with a cup of green tea for a delightful afternoon snack or as a dessert at the end of a meal. For a more festive touch, arrange them on a platter alongside fresh fruits or whipped cream to complement the sweetness of the filling while providing visual appeal.
FAQs
What can I use as a substitute for red bean paste?
You can try sweetened chestnut puree, almond paste, or even Nutella for a twist, though these alternatives will change the flavor profile.
Why are my pancakes too thick?
If your pancakes are too thick, it might be due to overmixing the batter or insufficient liquid. Adding a bit more water can help achieve the desired consistency.
How do I prevent the dorayaki from sticking to the skillet?
Make sure to preheat the skillet adequately and brush it lightly with oil or butter. Avoid allowing excess fat to accumulate, which can also contribute to sticking.
What if my dorayaki are too bland?
If the flavor is lacking, consider increasing the sugar slightly or adding a touch of vanilla extract for extra depth. Experiment with incorporating flavored extracts, like almond or citrus.
Can I make mini dorayaki instead?
Certainly! Adjust the cooking time for smaller pancakes to ensure they cook evenly. This can make for adorable and easy-to-eat treats.
What should I do if my dorayaki are overcooked?
If they've turned out too dark or dry, try adjusting your heat settings for the next batch. Keeping a close eye on the pancakes ensures they cook evenly without burning.
Conclusion
Dorayaki is more than just a snack; it’s a slice of Japanese culinary tradition that you can bring to your kitchen. The process of making these treats encourages creativity, whether through alternative fillings or variations in presentation.
By mastering the simple yet rewarding technique of crafting dorayaki, you unlock not just a delicious treat but also a connection to Japanese culture and its cherished customs around food. Enjoy every bite!
Recipe Card
Exploring the Charm of Japanese Dorayaki
Ingredients
Method
- Make the batter by mixing the dry ingredients.
- In a separate bowl, whisk the eggs and water together.
- Combine the wet and dry ingredients, stirring gently.
- Let the batter rest for 15-30 minutes.
- Preheat the skillet over medium heat.
- Pour batter onto the skillet to form pancakes.
- Cook until bubbles form, then flip.
- Repeat with remaining batter, ensuring even-sized cakes.
- Fill the cakes with red bean paste once cooled.
Notes
Additional serving suggestions: pair with a crisp salad, garlic bread, or roasted seasonal vegetables for balance.
For make-ahead, prep components separately and assemble just before heating to preserve texture.
Taste and adjust with acid (lemon/vinegar) and salt right at the end to wake up flavors.


