Introduction
If you're in the mood for a sweet treat that's both fun and simple, look no further than easy no-bake moose farts. This whimsical dessert is a hit among children and adults alike, thanks to its creamy texture and playful name. Not only does it taste amazing, but it also requires no baking, making it a perfect option for warm days or busy afternoons.
The name 'moose farts' often brings a smile, but there’s nothing silly about its flavors. Combining rich creaminess with a hint of nutty chocolate, this treat is both indulgent and satisfying. It's easy to whip up in a matter of minutes, allowing you more time to enjoy with your loved ones or simply relax.
Ingredients
- 1 cup heavy whipped cream
Whipped cream is key to achieving the dessert's light and fluffy texture. It adds volume and a rich creaminess that elevates the overall experience, providing a wonderful base for the other flavors. - 1/2 cup sweetened condensed milk
Sweetened condensed milk brings sweetness and a velvety richness to the mixture. It helps bind the ingredients together while adding a distinct flavor that harmonizes beautifully with the whipped cream. - 1/3 cup cocoa powder
Cocoa powder infuses the dessert with deep chocolate flavor. It acts as the main flavoring agent, ensuring the moose farts stand out. Opt for a high-quality cocoa powder for the best results. - 1 teaspoon pure vanilla extract
The vanilla extract enhances the overall flavor profile of the dessert, adding subtle, aromatic notes that complement the chocolatey richness and elevate the dish's complexity. - 1/4 cup mini marshmallows
Mini marshmallows add a fun texture and a hint of sweetness. They create a chewy contrast to the creamy mixture, making each bite interesting and enjoyable. - 1/4 cup chocolate chips
Chocolate chips introduce an additional layer of chocolate goodness. They provide delightful bursts of chocolate in each spoonful, enriching the dessert's overall chocolate experience.
Directions & Preparation
Step 1: Whip the cream until peaks form.
Start by pouring the heavy whipped cream into a mixing bowl and using an electric mixer on medium speed. Whipping the cream until soft peaks form ensures a light and airy texture in your dessert. Avoid over-whipping, as this can lead to grainy cream.
Step 2: Combine condensed milk and cocoa powder.
In a separate bowl, blend together the sweetened condensed milk and cocoa powder until smooth. This step is crucial because it prevents any cocoa clumps from forming in the mixture. Make sure the cocoa is evenly distributed to achieve a consistent chocolate flavor throughout.
Step 3: Add vanilla extract to the mixture.
Incorporating the vanilla extract into the condensed milk and cocoa blend adds depth to the flavor profile. Stir it in until fully combined, as this enhances the overall taste of the dessert and ensures each component is well integrated.
Step 4: Fold whipped cream into the chocolate mixture.
Gently fold the whipped cream into the chocolate mixture using a spatula. This technique ensures that the air you've whipped into the cream is preserved, helping the dessert maintain its fluffy texture. Be careful not to deflate the whipped cream.
Step 5: Stir in marshmallows and chocolate chips.
Once your cream and chocolate mixture is combined, fold in the mini marshmallows and chocolate chips to add texture and bursts of flavor. This step is important because it creates contrast in the dessert, ensuring each bite is enjoyable with varied textures and flavors.
Step 6: Transfer mixture to a serving dish.
Pour the mixture into a suitable serving dish or individual cups. This is where presentation comes into play. An even layer not only looks appealing but allows for even chilling which helps the flavors meld beautifully.
Step 7: Refrigerate until set.
Chill the dessert in the refrigerator for at least 2-3 hours to allow it to firm up. This step is essential for proper texture, making it easier to scoop and serve. The cooling process enhances the flavors, allowing them to deepen and intensify.

The Surprising History Behind Moose Farts
Despite its humorous name, moose farts have roots in various no-bake desserts that celebrate simplicity and playfulness. The origins involve many creative cooks who found ways to utilize pantry staples for delicious treats that didn't require baking. This recipe is a modern twist, embracing the humor and lightheartedness that desserts can offer, especially among family gatherings.
Serving Suggestions for Moose Farts
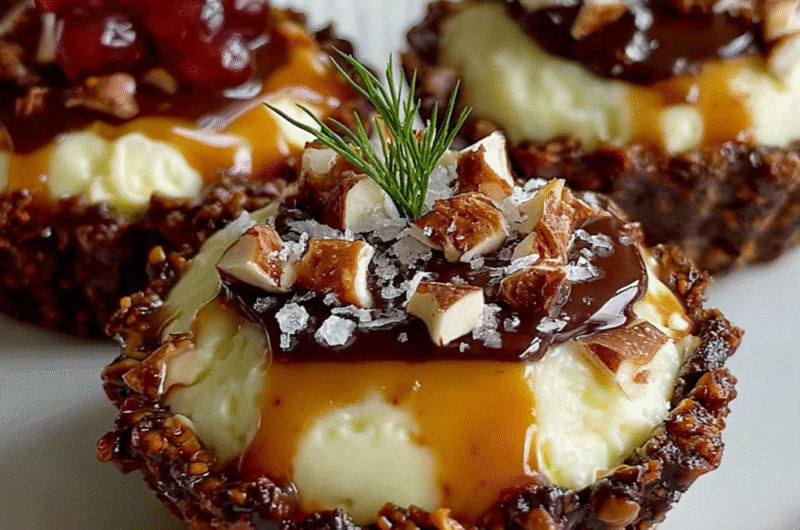
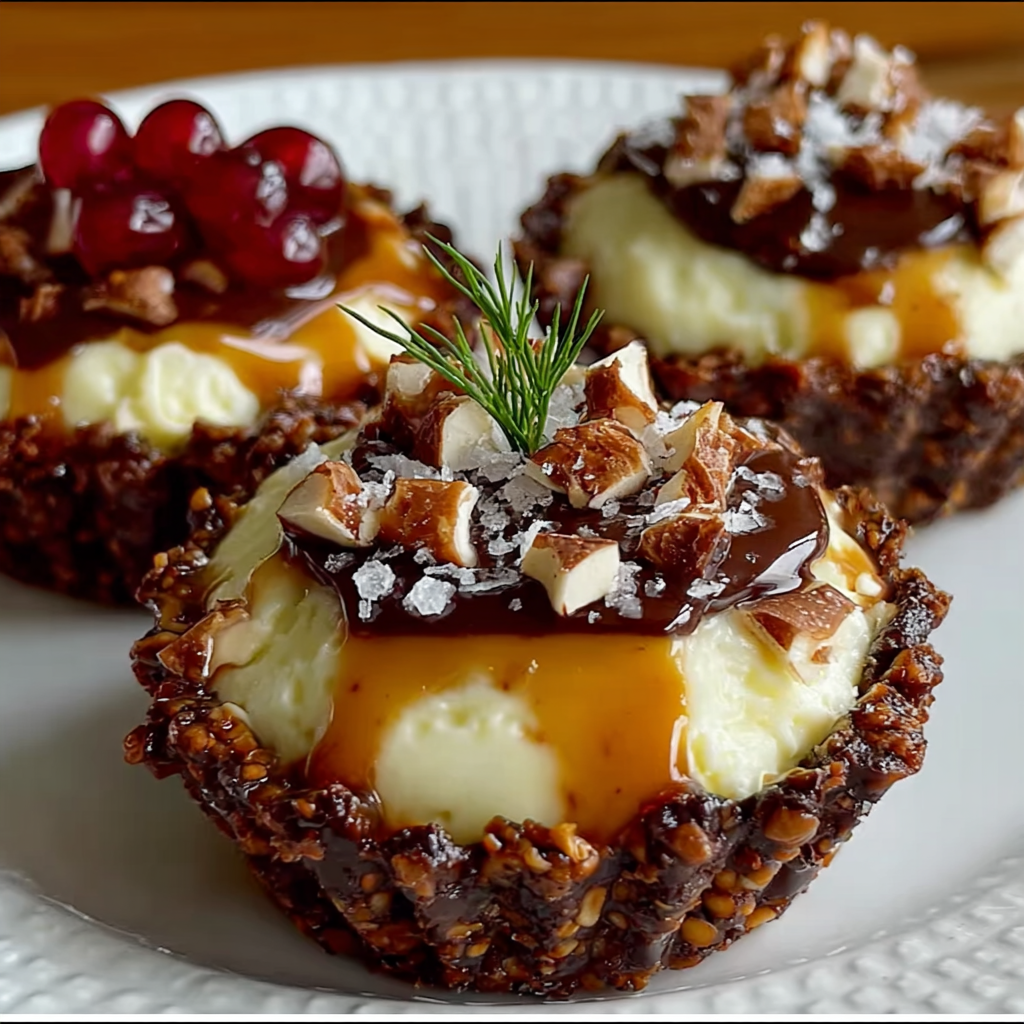
When it comes to serving moose farts, consider pairing them with fresh berries or a drizzle of chocolate sauce for a gourmet touch. The contrast between the richness of the dessert and the tartness of the berries brings a delightful balance to the palate. Additionally, serving it in clear cups can enhance the visual appeal, allowing guests to admire the layers and textures.
Variations to Try with Moose Farts
Feel free to experiment with flavors and mix-ins! For an added twist, you can incorporate peanut butter or even mint extract for a refreshing touch. This flexibility allows you to tailor the dessert to your taste preferences, making it not only easy but also personalized. Don't be afraid to get creative with seasonal ingredients or toppings to keep it exciting year-round.
FAQs
What if the mixture is too thick?
If the mixture seems too thick, you can gently fold in a small amount of cold heavy cream to loosen it up. This will help achieve the desired creamy consistency without compromising the flavor.
Can I use different types of chocolate chips?
Absolutely! You can use milk chocolate, dark chocolate, or even white chocolate chips for a different flavor. Just keep in mind that this will alter the overall sweetness of the dessert.
Why did my dessert lose its fluffiness?
If your dessert lost its fluffiness, it could be due to over-mixing when combining the whipped cream with the chocolate mixture. For next time, make sure to fold gently to preserve the airiness.
Is it possible to make moose farts dairy-free?
Yes, you can substitute heavy cream with coconut cream and use dairy-free chocolate chips. This will allow you to create a dairy-free version while still enjoying a similar flavor profile.
How can I add more flavors to my dessert?
You can experiment with different extracts such as almond or hazelnut to alter the flavor. Just a teaspoon can add a nuanced taste that transforms the dessert into something unique.
What if I want a less sweet dessert?
If you prefer a less sweet treat, reduce the amount of sweetened condensed milk slightly. Alternatively, you can also add more cocoa powder to balance out the sweetness without losing flavor.
Conclusion
Easy no-bake moose farts are a delightful way to indulge your sweet tooth without spending hours in the kitchen. With a few simple ingredients and minimal preparation, you can whip up this whimsical dessert any day of the week. Its playful nature is sure to bring joy to any occasion.
So gather your ingredients, roll up your sleeves, and dive into this fun culinary adventure. Remember, the best part about cooking is experimenting and personalizing recipes to suit your taste. Enjoy every creamy bite of your delicious creation!
Recipe Card
Delightful Easy No-Bake Moose Farts Recipe
Ingredients
Method
- Whip the cream until peaks form.
- Combine condensed milk and cocoa powder.
- Add vanilla extract to the mixture.
- Fold whipped cream into the chocolate mixture.
- Stir in marshmallows and chocolate chips.
- Transfer mixture to a serving dish.
- Refrigerate until set.
Notes
Additional serving suggestions: pair with a crisp salad, garlic bread, or roasted seasonal vegetables for balance.
For make-ahead, prep components separately and assemble just before heating to preserve texture.
Taste and adjust with acid (lemon/vinegar) and salt right at the end to wake up flavors.


