Introduction
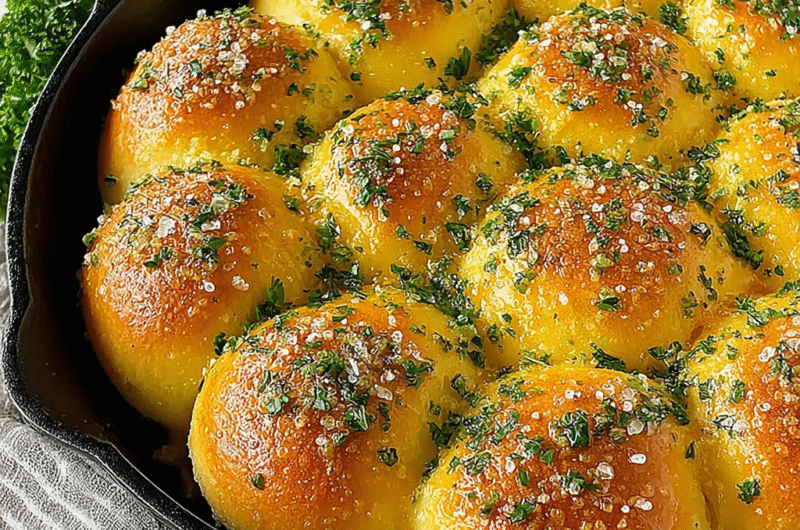
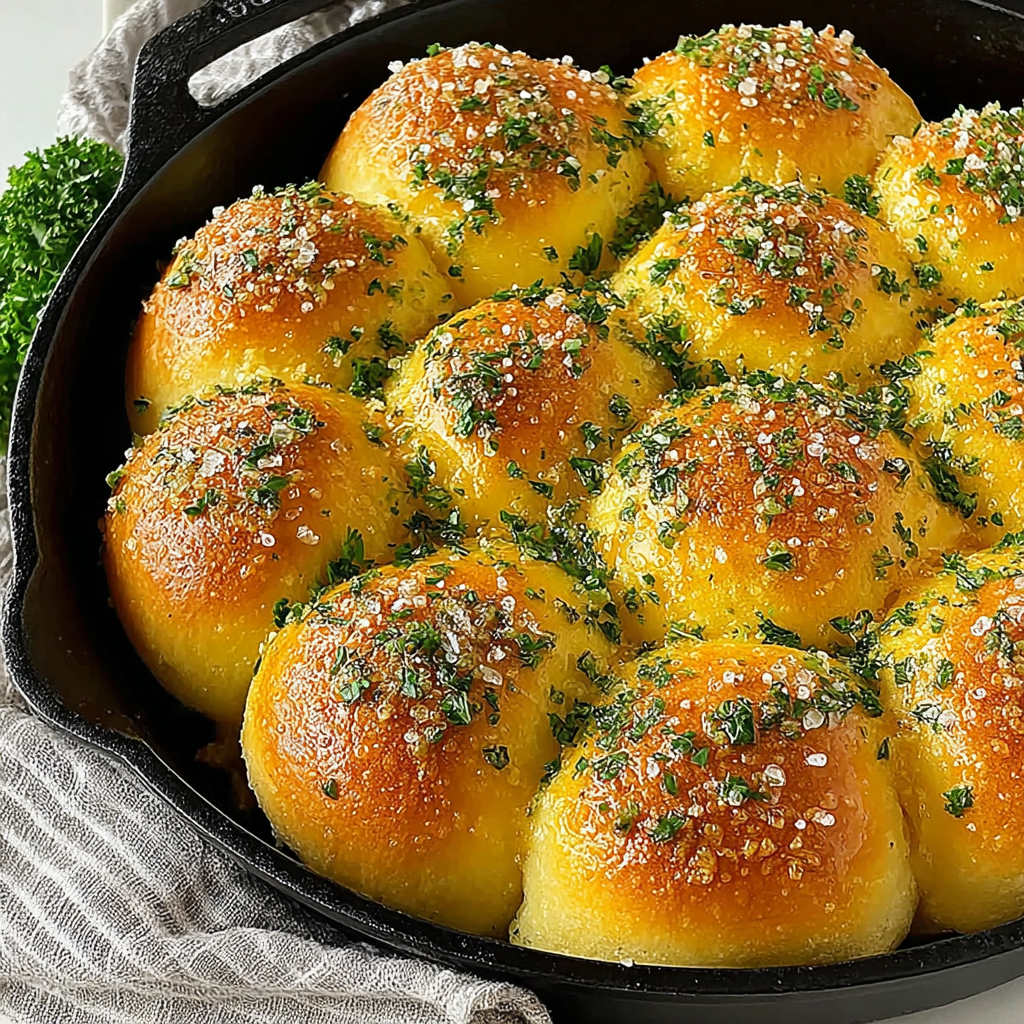
Dinner rolls are a cherished addition to any meal, and making them from scratch elevates the experience. Using a cast iron skillet not only enhances the texture but also provides even heat distribution, resulting in rolls that are beautifully brown and fluffy inside.
Incorporating a few simple ingredients and a little patience, these dinner rolls will become a staple at your dining table. The warm aroma of freshly baked bread will welcome your family and friends, creating a memorable atmosphere.
This recipe allows for a perfect balance of flavor and texture while using the versatile cast iron skillet—ideal for both novice bakers and seasoned cooks. Let’s dive into the ingredients and get started on crafting these irresistible rolls.
Ingredients
- 4 cups all-purpose flour
The base of your rolls, all-purpose flour provides the necessary structure and gluten development, which is crucial for achieving that light and airy texture. - 2 tablespoons granulated sugar
Sugar not only adds a touch of sweetness but also acts as food for the yeast, helping the dough to rise and develop a lovely golden crust. - 1 tablespoon salt
Salt enhances the flavor and strengthens the dough by tightening the gluten structure—too little can result in bland rolls. - 2 packets (4 1/2 teaspoons) active dry yeast
Yeast is the leavening agent that makes the dough rise, creating those signature fluffy rolls. Fresh yeast leads to better flavor and texture. - 1 1/2 cups warm milk (110°F)
Warm milk helps activate the yeast more effectively, leading to a rise that's airy and soft. It also contributes to the rich flavor of the rolls. - 1/4 cup unsalted butter, melted
Butter enriches the dough, giving it a rich flavor and tender texture. It also contributes to a golden color when baked. - 1 large egg
Eggs add moisture and contribute to the structure of the rolls. They help the dough bind together and achieve a tender crumb.
Directions & Preparation
Step 1: Activate the yeast.
Begin by combining warm milk and sugar in a bowl. Sprinkle the yeast on top and let it sit for about 5–10 minutes until it becomes frothy. This is a crucial step; if the yeast doesn't foam, it may be inactive, and your rolls won’t rise.
Step 2: Combine dry ingredients.
In a large mixing bowl, whisk together flour and salt. Mixing these ingredients before adding wet elements prevents clumps of salt from inhibiting yeast activity. This uniform distribution is key for consistent flavor.
Step 3: Mix wet and dry ingredients.
Add the activated yeast mixture, melted butter, and the egg to the flour mixture. Stir until a dough begins to form. This is where the magic happens—mix until it’s just combined to avoid overworking the dough, which could result in dense rolls.
Step 4: Knead the dough.
Transfer the dough onto a floured surface and knead for about 10 minutes until smooth and elastic. Kneading develops the gluten, which is essential for structure—this step will build a perfect texture for your rolls.
Step 5: First rise.
Place the kneaded dough in a greased bowl, covering it with a clean kitchen towel. Allow it to rise in a warm spot for about 1–2 hours until it doubles in size. This fermentation process is vital for flavor development and fluffiness.
Step 6: Shape the rolls.
Once risen, punch down the dough to release air, then divide it into 12 equal pieces. Shape each piece into a smooth ball by tucking the edges under, which will create surface tension, encouraging them to rise high.
Step 7: Second rise.
Arrange the dough balls in a greased cast iron skillet, ensuring they’re close but not touching. Cover and let them rise again for about 30–45 minutes. This step assures that the rolls will puff up beautifully in the oven.
Step 8: Preheat the oven.
While the rolls are rising, preheat your oven to 375°F. A properly preheated oven is essential to bake the rolls evenly and achieve that beautiful golden crust.
Step 9: Bake the rolls.
Once risen, bake the rolls in the preheated oven for 20–25 minutes until they’re golden brown. Baking transforms your dough into fluffy rolls, and watching them rise and brown is one of the most satisfying sights.
Step 10: Brush with butter.
After removing the rolls from the oven, brush with melted butter for added flavor and a glossy finish. This not only enhances the taste but also softens the crust, making your dinner rolls even more irresistible.

No-Knead Method Variations
If you're pressed for time, consider a no-knead version by letting the dough rise overnight in the refrigerator. This method enhances flavor and reduces the need for traditional kneading, allowing the gluten to develop naturally over time.
Herb-Infused Rolls
To elevate your dinner rolls, infuse the dough with herbs such as rosemary or thyme. Simply chop fresh herbs and mix them into the dough during the initial mixing phase, adding a fragrant and savory twist that complements any meal.
Glazing Techniques for Shine and Flavor
Experiment with glazes before baking for a unique flavor—brush the rolls with a milk and honey mixture or an egg wash to create a beautifully glossy, golden-brown crust. These small touches can truly elevate the presentation and taste.
FAQs
What if my dough fails to rise properly?
If your dough doesn't rise, it could be due to inactive yeast. Ensure your yeast is fresh and that the milk was warm enough—not too hot, which can kill the yeast.
Can I make smaller rolls or adjust the size?
Yes, you can scale the dough to make smaller buns. Just divide the dough into equal portions according to your preferred size, but adjust the baking time accordingly.
Why are my rolls dense or heavy?
Dense rolls often result from over-kneading the dough or using too much flour. Measure accurately and stop kneading as soon as the dough is smooth and elastic.
What if my rolls turn out bland?
If your rolls lack flavor, consider increasing the salt slightly or adding herbs and garlic to the dough for additional depth.
Can I use whole wheat flour instead of all-purpose?
Yes, whole wheat flour will add a nutty flavor but may require more water to achieve the right dough consistency due to its higher absorption.
How can I enhance the flavor of my rolls?
Incorporate items like garlic powder, cheddar cheese, or other seasonings into the dough before baking for an extra burst of flavor.
Conclusion
Making cast iron skillet dinner rolls from scratch is an enriching experience that transforms any meal into a celebration. The combination of science and art in bread making is satisfying and rewarding.
As you perfect this recipe, feel free to experiment with flavors and techniques, making it your own. With practice, these rolls will undoubtedly become a family favorite.
Recipe Card
Cloud-Like Dinner Rolls Made in a Cast Iron Skillet
Ingredients
Method
- Activate the yeast.
- Combine dry ingredients.
- Mix wet and dry ingredients.
- Knead the dough.
- First rise.
- Shape the rolls.
- Second rise.
- Preheat the oven.
- Bake the rolls.
- Brush with butter.
Notes
Additional serving suggestions: pair with a crisp salad, garlic bread, or roasted seasonal vegetables for balance.
For make-ahead, prep components separately and assemble just before heating to preserve texture.
Taste and adjust with acid (lemon/vinegar) and salt right at the end to wake up flavors.


