Introduction
There’s something incredibly satisfying about a classic New York cheesecake. With its creamy texture and rich flavor, it stands out as a timeless dessert that can elevate any occasion. Whether it’s a birthday celebration, a holiday feast, or simply a Sunday evening treat, this cheesecake is sure to impress.
Crafted with simple ingredients, this cheesecake might seem uncomplicated at first glance. However, the magic happens when you blend these elements together, resulting in a dessert that is both luxurious and comforting. From the buttery crust to the velvety filling, every bite is a delightful experience that showcases the best of traditional baking.
Ingredients
- 2 cups graham cracker crumbs
Graham cracker crumbs create the base for the crust, providing a sweet and slightly earthy flavor. Their texture adds perfect crunch and stability to the cheesecake. - 1/2 cup unsalted butter, melted
Butter is essential for binding the graham cracker crumbs together and adds richness to the crust. The melted form ensures an even mix without clumping. - 4 (8 oz) packages cream cheese, softened
Cream cheese is the star of the cheesecake, contributing to its creamy texture and rich taste. Softening it before use allows for a smoother batter. - 1 cup granulated sugar
Sugar not only sweetens the cheesecake but also balances out the tanginess of the cream cheese. It helps in creating that silky filling. - 1 teaspoon vanilla extract
Vanilla extract enhances the overall flavor of the cheesecake, adding warmth and depth. It complements the cream cheese beautifully. - 3 large eggs
Eggs serve as a binding agent that helps the cheesecake to set properly while adding richness to the filling. They should be added at room temperature for best results. - 1/4 cup sour cream
Sour cream adds a touch of tanginess and creaminess to the filling, enhancing the cheesecake's overall flavor profile. - 1 tablespoon all-purpose flour
Flour helps stabilize the filling and gives the cheesecake structure, ensuring it doesn't crack and retains its shape when sliced.
Directions & Preparation
Step 1: Preheat your oven to 325°F (163°C).
Starting with the right oven temperature is crucial for even baking. Preheating allows the cheesecake to cook slowly, preventing cracks and ensuring a smooth texture.
Step 2: Prepare the crust by mixing graham cracker crumbs and melted butter.
Combine the graham cracker crumbs with melted butter until thoroughly mixed. This mixture should hold together when pressed. A firm crust creates a stable base for the creamy filling.
Step 3: Press the crust mixture firmly into the base of a springform pan.
Using the bottom of a measuring cup or your hands, pack the crust mixture tightly into the bottom of the pan. This helps prevent the crust from crumbling when the cheesecake is sliced.
Step 4: Bake the crust in the oven for 8-10 minutes.
Baking the crust enhances its flavor and creates a firmer texture. This pre-baking step helps the crust hold up under the heavy cheesecake filling.
Step 5: In a large mixing bowl, beat the softened cream cheese until smooth.
Ensure there are no lumps in the cream cheese by beating it well. A smooth filling is essential for a velvety cheesecake, without any unpleasant texture.
Step 6: Add sugar and vanilla extract; mix until fully combined.
Incorporating sugar and vanilla into the cream cheese not only sweetens the mixture but also enriches the flavor. Full integration prevents sugary pockets in the finished product.
Step 7: Add eggs one at a time, mixing gently after each addition.
Gradually adding the eggs prevents excessive aeration, which can lead to cracks during baking. Mixing gently keeps the filling smooth and stable.
Step 8: Incorporate sour cream and flour, mixing until smooth.
These additional ingredients enhance the flavor and structure of the cheesecake. Mixing these last ensures they blend without overbeating, preserving the desired texture.
Step 9: Pour the filling over the pre-baked crust.
Carefully pour the cheesecake batter over the crust to create an even layer. This prevents bubbles from forming, which can negatively affect the texture.
Step 10: Bake for 55-65 minutes, or until the edges are set and the center slightly jiggles.
The long baking time ensures even cooking. A slight jiggle in the center indicates that the cheesecake will set as it cools, preventing overcooking.
Step 11: Turn off the oven and crack the door slightly; let the cheesecake cool in the oven for 1 hour.
This gradual cooling helps prevent cracks from forming due to sudden temperature changes. It allows the cheesecake to relax while continuing to cook slightly.
Step 12: Chill the cheesecake in the refrigerator for at least 4 hours, preferably overnight.
Chilling is crucial for the flavors to meld and for the cheesecake to fully set. An overnight rest results in a firmer texture and richer taste.
Step 13: Once chilled, remove from the springform pan and serve.
Carefully run a knife around the edges to help release the cheesecake from the pan. Presentation matters, so slice it cleanly for beautiful serving.

The Perfect Texture: Achieving Creamy Perfection
Achieving the ideal texture in a New York cheesecake relies heavily on ingredient temperature and mixing technique. Softening the cream cheese and eggs allows for a smoother batter, while avoiding overmixing is key to preventing air bubbles. The right baking time is also vital; removing the cheesecake while it's still slightly jiggly ensures it will set perfectly upon cooling.
Flavor Enhancements: Beyond the Basics
While this classic recipe is delightful on its own, there are countless ways to elevate the flavor profile. Consider incorporating citrus zest, such as lemon or orange, to add a refreshing brightness. Swirling in fruit purees or chocolate can transform your cheesecake visually and tastefully, making it versatile for different occasions.
Serving Suggestions: Complementing Your Cheesecake
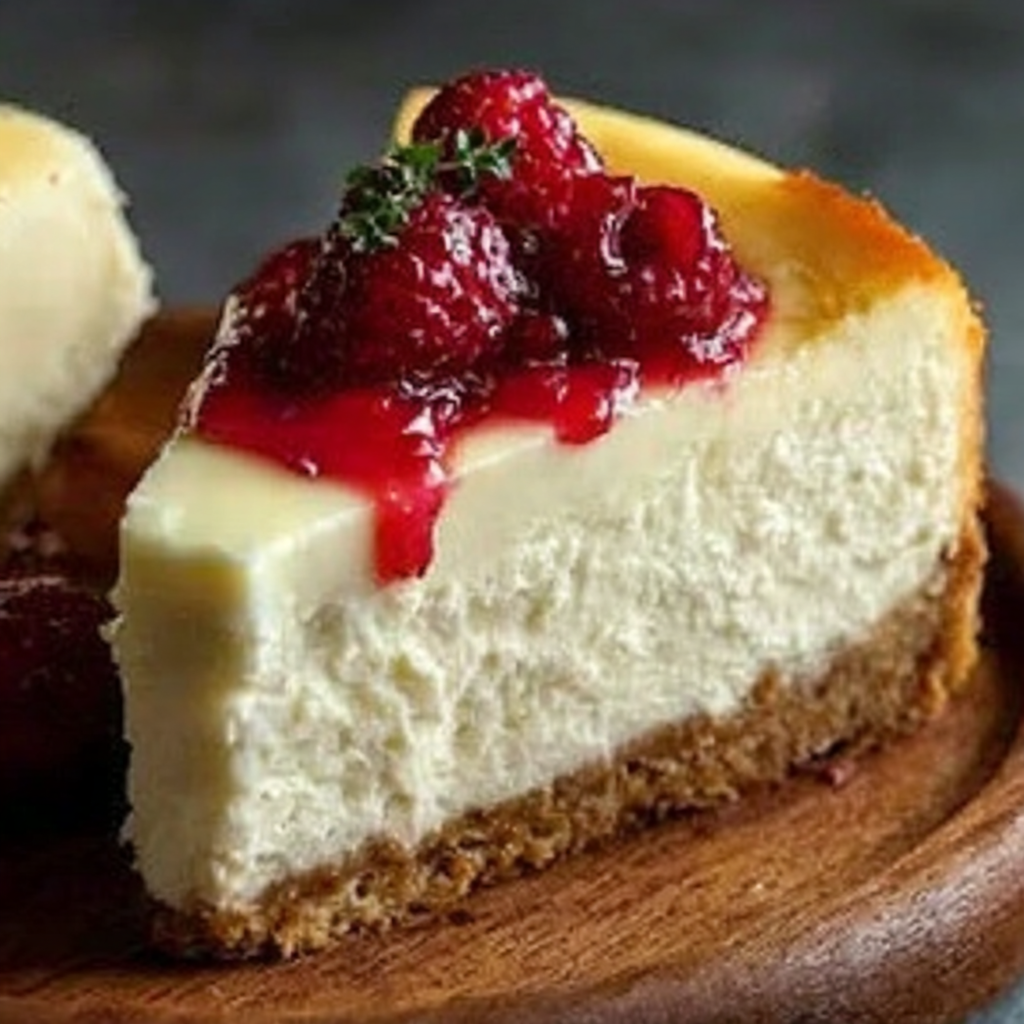
For a truly special dessert, pair your New York cheesecake with fresh berries or a drizzle of fruit sauce. A dollop of whipped cream can also enhance its richness, while a sprinkle of finely chopped nuts adds texture. These extras not only beautify your cheesecake but also enhance the overall flavor experience.
FAQs
What could cause my cheesecake filling to be too thin?
If the cheesecake filling is too thin, it may be due to under-mixing or not incorporating enough flour. Ensure all ingredients are mixed thoroughly and that you follow the measurements closely.
How do I know my cheesecake is fully baked?
Your cheesecake is done when the edges are set, but the center should still jiggle slightly. This indicates it will continue setting once cooled.
Can I add a fruit topping to the cheesecake before baking?
Adding a fruit topping before baking may result in a soggy texture or uneven baking. Instead, consider adding toppings after it has cooled.
Is it okay to double the recipe for a larger gathering?
Yes, you can double the recipe, but be sure to adjust cooking time accordingly and use a larger pan to accommodate the increased batter volume.
What is the best type of springform pan to use?
A quality non-stick springform pan is ideal, as it ensures easier removal of the cheesecake without sticking. A pan with a tight seal is also important to avoid water seeping in during a water bath.
Why did my cheesecake crack on top?
Cracking can occur due to overmixing or baking at too high a temperature. Prevent this by mixing just until combined and baking at the recommended temperature with a water bath if necessary.
Conclusion
Baking a classic New York cheesecake is an art that, once mastered, can be a rewarding experience. From the initial mixing to the final chilling, each step plays a role in creating a dessert that is both indulgent and satisfying.
This cheesecake, with its smooth texture and rich taste, is bound to become a favorite in your dessert repertoire. Whether you’re serving it at a special event or enjoying it at home, it promises to bring joy with every slice.
Recipe Card
Notes
Additional serving suggestions: pair with a crisp salad, garlic bread, or roasted seasonal vegetables for balance.
For make-ahead, prep components separately and assemble just before heating to preserve texture.
Taste and adjust with acid (lemon/vinegar) and salt right at the end to wake up flavors.


