Introduction
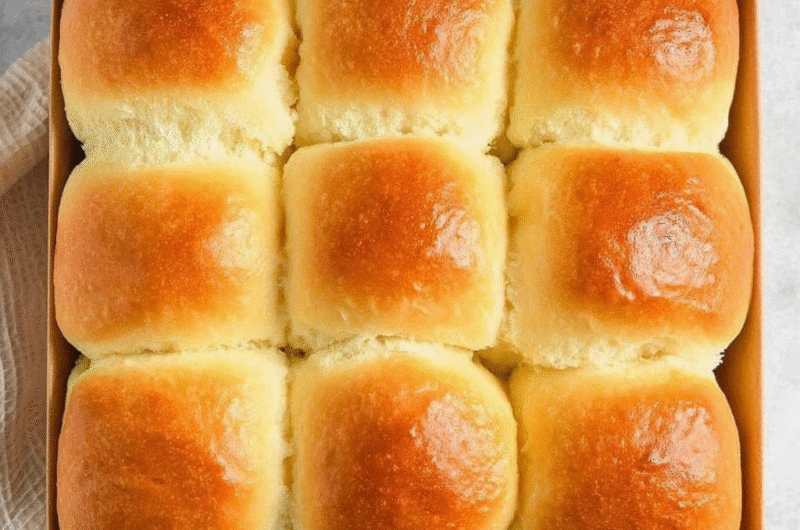
When it comes to comfort food, few things can compete with the warm embrace of freshly baked dinner rolls. Their fluffy texture and subtle sweetness make them a favorite addition to any meal, whether it's a holiday feast or a casual weeknight dinner.
Creating these light, airy rolls at home may seem daunting, but with a few simple ingredients and techniques, you can achieve bakery-quality results. The satisfaction of breaking apart a warm roll and slathering it with butter is truly hard to beat.
Join me as we dive into the process of making fluffy dinner rolls that are sure to impress your family and friends. These rolls will quickly become a cherished staple at your dining table.
Ingredients
- 4 cups all-purpose flour
Flour provides the structure for the rolls and contains gluten, which helps them rise and maintain their shape. Using all-purpose flour gives the rolls a nice balance of texture and flavor. - 2 tablespoons granulated sugar
Sugar not only adds a hint of sweetness but also feeds the yeast, helping to activate it and promote fermentation. This results in a softer, more flavorful roll. - 1 packet (2 1/4 teaspoons) instant yeast
Yeast is essential for the fermentation process, causing the dough to rise and develop air pockets. Instant yeast allows for quicker risings, making the process more efficient. - 1 teaspoon salt
Salt enhances the flavor of the rolls while also strengthening the dough's structure. It's crucial for balancing the sweetness and promoting a pleasant taste. - 1 cup warm milk (110°F)
Warm milk helps to activate the yeast effectively and adds moisture to the dough, resulting in a tender texture. Be careful not to use hot milk, as it can kill the yeast. - 1/4 cup unsalted butter, melted
Butter enriches the rolls, making them soft and giving them a delightful flavor. It also contributes to a tender crumb and helps with browning during baking. - 2 large eggs
Eggs act as a binding agent and enrich the dough, contributing to its structure and moisture. They also help color the rolls during baking.
Directions & Preparation
Step 1: Prepare the yeast mixture
Start by combining warm milk, sugar, and yeast in a bowl. Stir gently and let this mixture sit for about 5-10 minutes, or until it becomes frothy. This step is crucial as it ensures that the yeast is active and ready to work its magic in the dough.
Step 2: Mix the dry ingredients
In a separate large mixing bowl, whisk together flour and salt. This helps to distribute the salt evenly, which is vital for flavor. Mixing the dry ingredients separately also allows you to catch any lumps before adding the wet ingredients.
Step 3: Combine wet and dry ingredients
Once the yeast has bubbled up, add the eggs and melted butter to the yeast mixture. Then pour this into the dry ingredients. Mix with a wooden spoon until a shaggy dough forms. This method allows you to control the mixing and prevents overworking the dough, which could lead to tough rolls.
Step 4: Knead the dough
Turn the dough out onto a lightly floured surface and knead it for about 8-10 minutes until it is smooth and elastic. Kneading develops the gluten structure, which is crucial for fluffy rolls. Don’t skip this step, as a well-kneaded dough will rise better.
Step 5: First rise
Shape the kneaded dough into a ball and place it in a greased bowl, covering it with a damp cloth. Let it rise in a warm place for about an hour or until it doubles in size. This rise allows the yeast to ferment, producing the carbon dioxide that gives the rolls their light texture.
Step 6: Shape the rolls
Punch down the risen dough to release excess air, then divide it into equal portions (about 12-15). Shape each piece into a ball and place them in a greased baking dish. Shaping helps create surface tension, important for definition in your rolls.
Step 7: Second rise
Cover the shaped rolls with a cloth and let them rise again for about 30-45 minutes until they puff up. This step is crucial for achieving that fluffy texture. Don't rush this; adequate proofing ensures light rolls.
Step 8: Preheat the oven
While the rolls are rising, preheat your oven to 375°F (190°C). A hot oven is necessary for the rolls to expand quickly when baking. This rapid rise, often referred to as 'oven spring', is what gives the rolls their final fluffiness.
Step 9: Bake the rolls
Once the rolls have risen, bake them for 20-25 minutes or until golden brown. Keep an eye on them towards the end to prevent over-browning. The desired internal temperature should reach 190°F (88°C), ensuring they are baked through yet still soft.
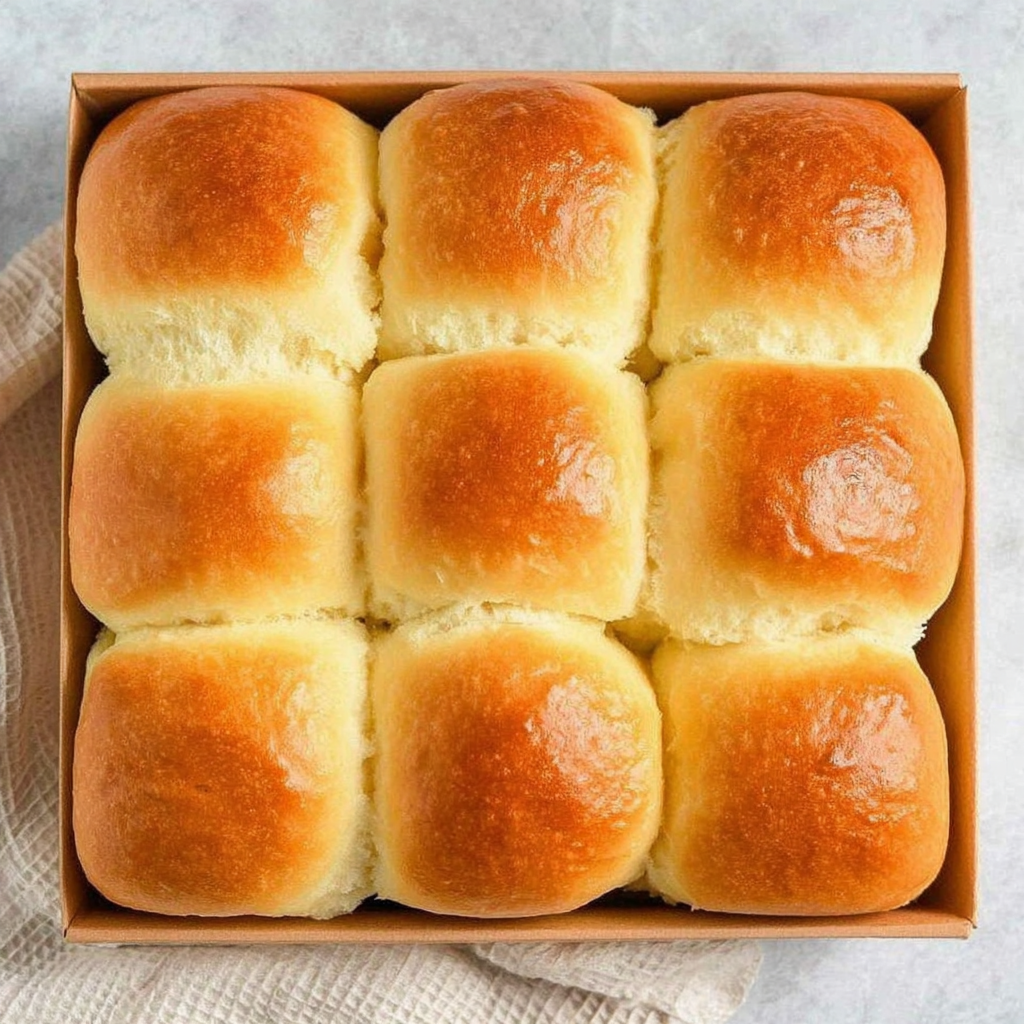
Step 10: Cool and enjoy
Allow the rolls to cool in the pan for about 5 minutes, then transfer them to a wire rack. This step helps maintain their soft texture by preventing steam from making them soggy. Enjoy them warm, with butter or as a side to any meal.

Mastering Yeast Activation
The success of fluffy dinner rolls hinges on proper yeast activation. Using water that is too hot can kill the yeast, while too cold water may not activate it at all. A sweet spot of about 110°F is ideal, providing the warm environment yeast thrives in. Properly activated yeast will result in a fluffy texture, making your rolls light and airy.
The Importance of Kneading
Kneading the dough is a crucial step in developing the gluten network within the flour. This structure is what holds the gases produced during fermentation, allowing the rolls to rise beautifully. Spend enough time kneading to ensure a smooth, elastic dough. Remember, a well-kneaded dough is a happy dough.
Choosing the Right Flour
Opting for all-purpose flour strikes a balance between tenderness and structure in your dinner rolls. While bread flour can be used for a chewier texture, all-purpose flour typically yields a fluffier result due to its moderate protein content. Ultimately, the choice of flour can impact the final texture, so select based on your preference.
FAQs
What if my rolls don't rise properly?
Check your yeast's expiration date and ensure your liquid was at the right temperature. If your environment is too cold, find a warmer spot for rising.
Can I make these rolls smaller for sliders?
Absolutely! Simply divide the dough into smaller pieces before shaping. Adjust the baking time slightly as they will cook faster.
Why are my rolls too dense?
Dense rolls can be a result of over-kneading or not allowing sufficient time for rising. Ensure you follow rise times closely and don't rush the process.
Is it okay to add herbs and spices for flavor?
Yes! Incorporating dried herbs or garlic powder into the dough can infuse additional flavors. Adjust other ingredients as necessary to maintain balance.
What if my dough is too sticky?
If your dough feels excessively sticky during kneading, incorporate a little more flour until it's manageable. However, be cautious not to add too much flour which can result in dense rolls.
Can I double the batch?
Doubling is easy! Just ensure you have a large enough bowl and baking dish for the increased quantity, and keep an eye on rising times.
Conclusion
Baking your own fluffy dinner rolls can transform any meal into something special. Their tender, airy texture and golden crust can elevate a simple dinner to comfort food at its finest.
By understanding the role of each ingredient and the importance of careful preparation, you'll create rolls that your family and friends will not only love but will remember for years to come. So roll up your sleeves and enjoy the process of baking!
Recipe Card
Light and Airy Dinner Rolls Made Easy
Ingredients
Method
- Prepare the yeast mixture
- Mix the dry ingredients
- Combine wet and dry ingredients
- Knead the dough
- First rise
- Shape the rolls
- Second rise
- Preheat the oven
- Bake the rolls
- Cool and enjoy
Notes
Additional serving suggestions: pair with a crisp salad, garlic bread, or roasted seasonal vegetables for balance.
For make-ahead, prep components separately and assemble just before heating to preserve texture.
Taste and adjust with acid (lemon/vinegar) and salt right at the end to wake up flavors.


