
Introduction
Raspberry cake filling is one of the simplest yet most delightful ways to elevate your baked goods. The bright, tart flavor of raspberries is a wonderful balance to the sweetness of cake, creating layers of taste that invigorate every bite.
Whether you're preparing a layered birthday cake, cupcakes, or even pastries, this filling can provide a luscious, fruity punch. With a few straightforward ingredients and steps, home cooks can create a raspberry filling that tastes like it came straight from a bakery.
This versatile filling isn't just limited to cakes; it can also be used in tarts, muffins, and even as a topping for pancakes. Having this recipe in your arsenal ensures you're ready to impress at any gathering.
Ingredients
- 2 cups fresh raspberries
Fresh raspberries provide the primary flavor in this filling. Their natural tartness balances the sweetness and offers a vibrant color that enhances the visual appeal of your dessert. - 3/4 cup granulated sugar
The sugar not only sweetens the raspberries but also helps in creating the syrupy consistency that binds everything together. Adjusting the sugar can help control the tartness, ensuring the filling suits your taste preferences. - 1 tablespoon lemon juice
Lemon juice adds brightness and acidity, enhancing the overall flavor profile of the filling. It also helps to prevent the raspberries from browning and gives a slightly tangy contrast. - 2 tablespoons cornstarch
Cornstarch acts as a thickening agent, ensuring that your filling holds together well when spread between cake layers. It creates a smooth and workable texture, preventing any sogginess in the cake. - 1/4 cup water
Water is needed to help dissolve the sugar and cornstarch when you cook the filling. It ensures an even consistency and helps extract flavor from the raspberries during the cooking process.
Directions & Preparation
Step 1: Prepare the raspberries.
Start by rinsing the fresh raspberries under cool water to remove any impurities. Gently pat them dry with a clean cloth. This step is crucial because any excess moisture may dilute the flavor and texture of the filling, leading to a runny consistency.
Step 2: Combine the ingredients.
In a medium saucepan, combine the raspberries, sugar, lemon juice, cornstarch, and water. Stir gently to mix all the ingredients evenly, taking care not to crush the raspberries just yet. This ensures every berry is coated and helps in creating a uniform filling as it cooks.
Step 3: Cook the mixture.
Place the saucepan over medium heat and cook the mixture while stirring frequently until the raspberries break down and the mixture begins to bubble. This process helps to extract the natural juices from the raspberries, resulting in a concentrated flavor and thickening the filling.
Step 4: Thicken the filling.
Continue to cook for about 5-7 minutes until the filling reaches your desired consistency. You should notice that it thickens as it cools. This step is important to achieve a spreadable filling that won’t ooze out of your cake layers or pastries.
Step 5: Cool the filling.
Remove the saucepan from the heat and allow the raspberry filling to cool completely at room temperature. Cooling is vital because it not only ensures that the filling holds its shape but also prevents from melting or ruining layers of cake when assembled.
Step 6: Use or store the filling.
Once cooled, the raspberry filling is ready to be used in your cake or dessert recipe. If you’re not using it immediately, store it in an airtight container in the fridge for up to a week. This allows you to plan ahead without compromising on flavor or freshness.

Versatile Usage of Raspberry Filling
Raspberry cake filling isn't limited to just cakes; it can enhance a variety of desserts! Use it as a vibrant layer in pastries, plop it in the center of cookies for a fruity surprise, or even swirl it into yogurt for a quick and refreshing snack. The possibilities are endless, allowing you to get creative while impressing your guests.
Enhancing Flavors
Considering flavor enhancements can take your filling to a whole new level. Add a splash of vanilla extract or a hint of almond extract for added depth. You might even introduce a dash of cinnamon for warmth. These small alterations can personalize your raspberry filling, making it unique to your culinary style.
Pairings with Other Ingredients
Raspberry filling pairs exceptionally well with numerous other flavors. Cream cheese frosting, chocolate ganache, or even whipped cream can create a delightful combination that tickles the palate. Experimenting with different bases ensures that your desserts not only look beautiful but also burst with complementary flavors.
FAQs
What should I do if my raspberry filling is too runny?
If your filling turns out too runny, you can return it to the saucepan and cook it over medium heat, stirring constantly. Adding a little more cornstarch mixed with water can also help in thickening it to your desired consistency.
Can I make this filling with frozen raspberries?
Yes, you can use frozen raspberries, but it's essential to thaw them and drain any excess liquid before cooking. This will help avoid a watery filling and maintain the intended texture.
How can I adjust the sweetness of the filling?
You can adjust the sweetness by varying the amount of sugar added. Start with less sugar if you're using very sweet raspberries and taste the mixture as it cooks to find your perfect balance.
Why does my filling taste bland?
A bland filling may result from insufficient lemon juice or sugar. Make sure to adjust both to enhance the flavor while also considering the natural tartness of the raspberries.
Can I use this filling for a cupcake design?
Absolutely! You can use raspberry filling as a center for filled cupcakes, giving that delightful surprise when biting into them. Just be sure to use a piping bag to fill them appropriately and ensure they stay presentable.
What if I want a smoother filling?
For a smoother consistency, consider pureeing the raspberries before cooking them. After the mixture has cooled, you can also strain it to remove the seeds for a velvety texture.
Can I combine raspberries with other fruits for the filling?
Indeed! You can mix raspberries with other berries like strawberries or blueberries, or even with peaches or apricots for a delightful medley. Just be sure to adjust sugar and acidity levels based on the fruit combined.
Conclusion
Raspberry cake filling is an exceptional way to add vitality and brightness to your desserts. With its ease of preparation and delightful flavor, it stands out as a favorite for home bakers.
Whether you're a novice or a seasoned baker, this filling is bound to impress. So prepare your raspberries, embrace the simplicity of this recipe, and get ready to receive compliments on your delicious creations.
Recipe Card
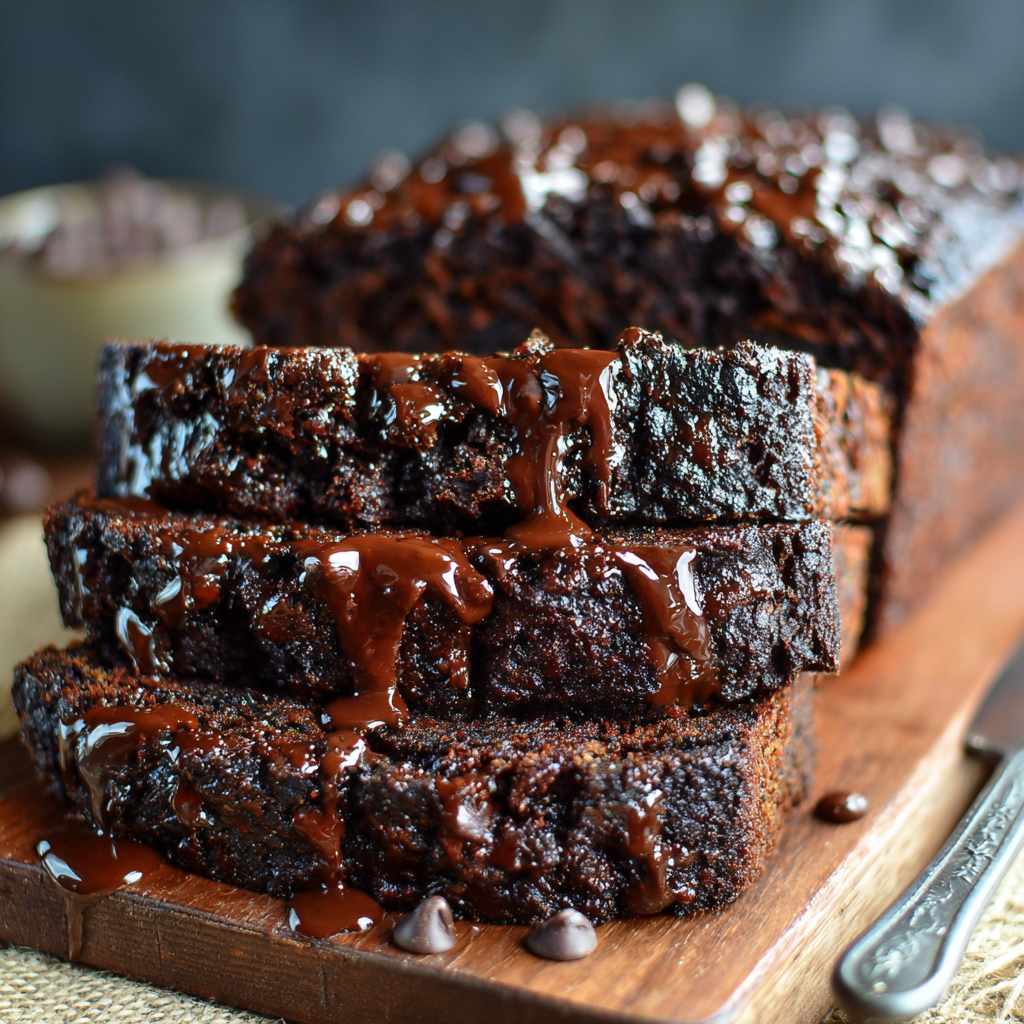
Deliciously Healthy Chocolate Banana Bread
Ingredients
Method
- Preheat the oven to 350°F (175°C).
- In a large mixing bowl, mash the ripe bananas.
- Add honey (or maple syrup) and applesauce to the mashed bananas; mix well.
- Beat in the eggs until fully incorporated.
- In a separate bowl, whisk together the whole wheat flour, cocoa powder, baking soda, and salt.
- Gradually add the dry ingredients to the wet mixture, folding gently until just combined.
- If using, fold in the dark chocolate chips.
- Pour the batter into a greased loaf pan and smooth the top with a spatula.
- Bake for 50-60 minutes or until a toothpick comes out clean.
- Let the bread cool in the pan for 10 minutes, then transfer to a wire rack.
Notes
Additional serving suggestions: pair with a crisp salad, garlic bread, or roasted seasonal vegetables for balance.
For make-ahead, prep components separately and assemble just before heating to preserve texture.
Taste and adjust with acid (lemon/vinegar) and salt right at the end to wake up flavors.


